How to Use Bueno - the Basics!
Now that you’ve prepped, organized and exported your files, it’s time to get started creating your first NFT collection in Bueno!
Create a new project and upload your art to the Bueno NFT Generator
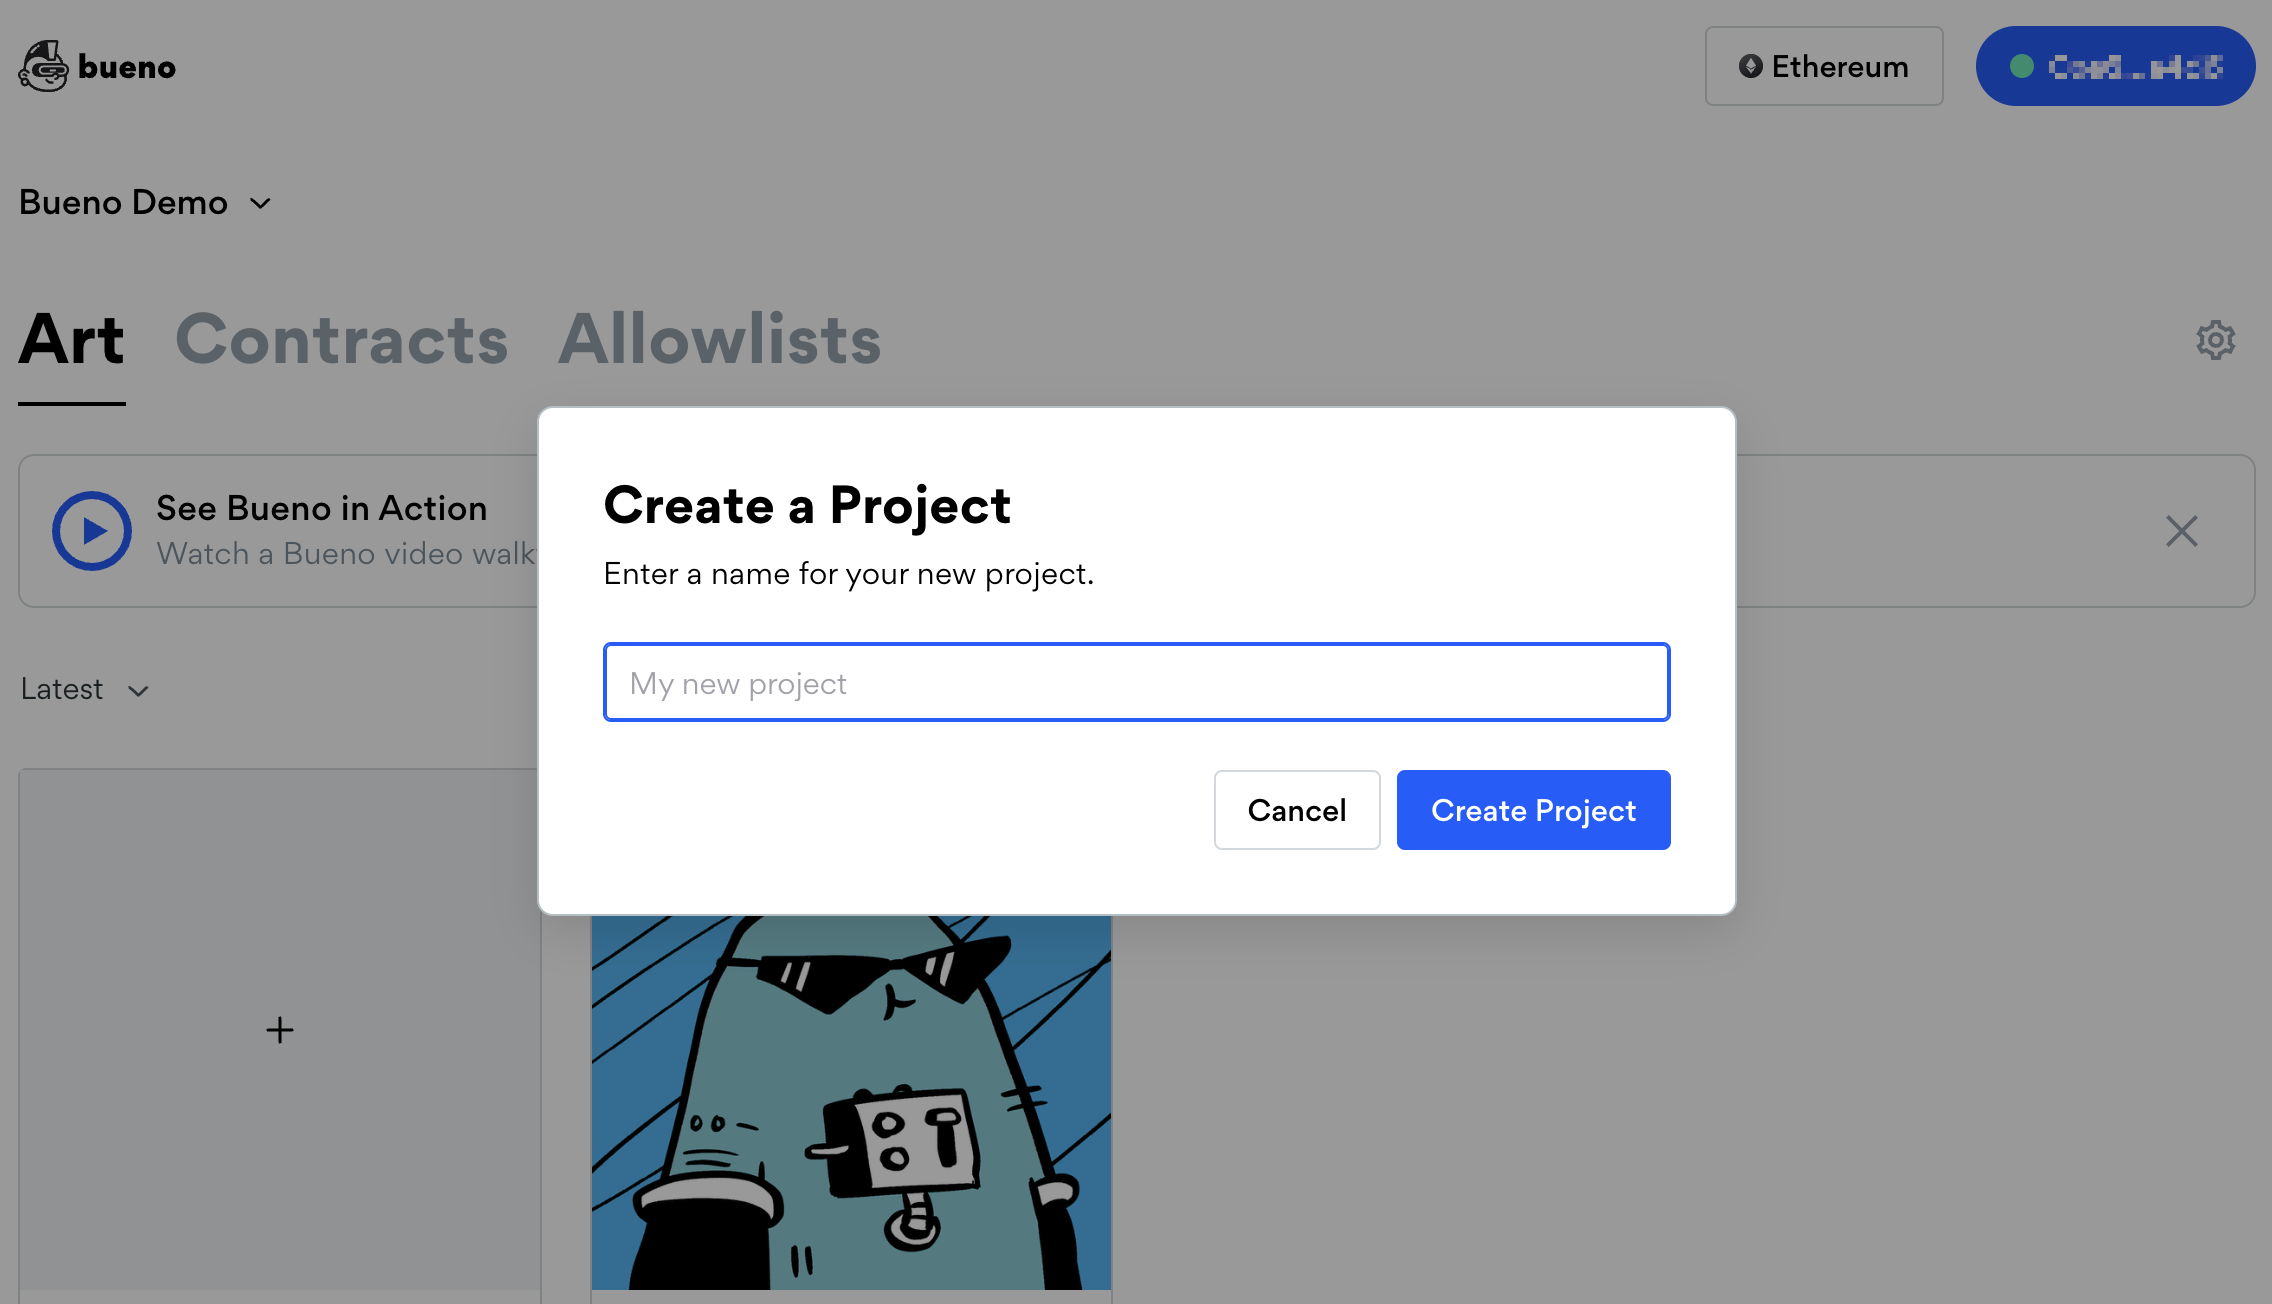
Click the Create project option and give your project a name (you can change this later in Project Settings ⚙️).
From the main project page, under Art, you'll be able to start using Bueno by creating a new collection.
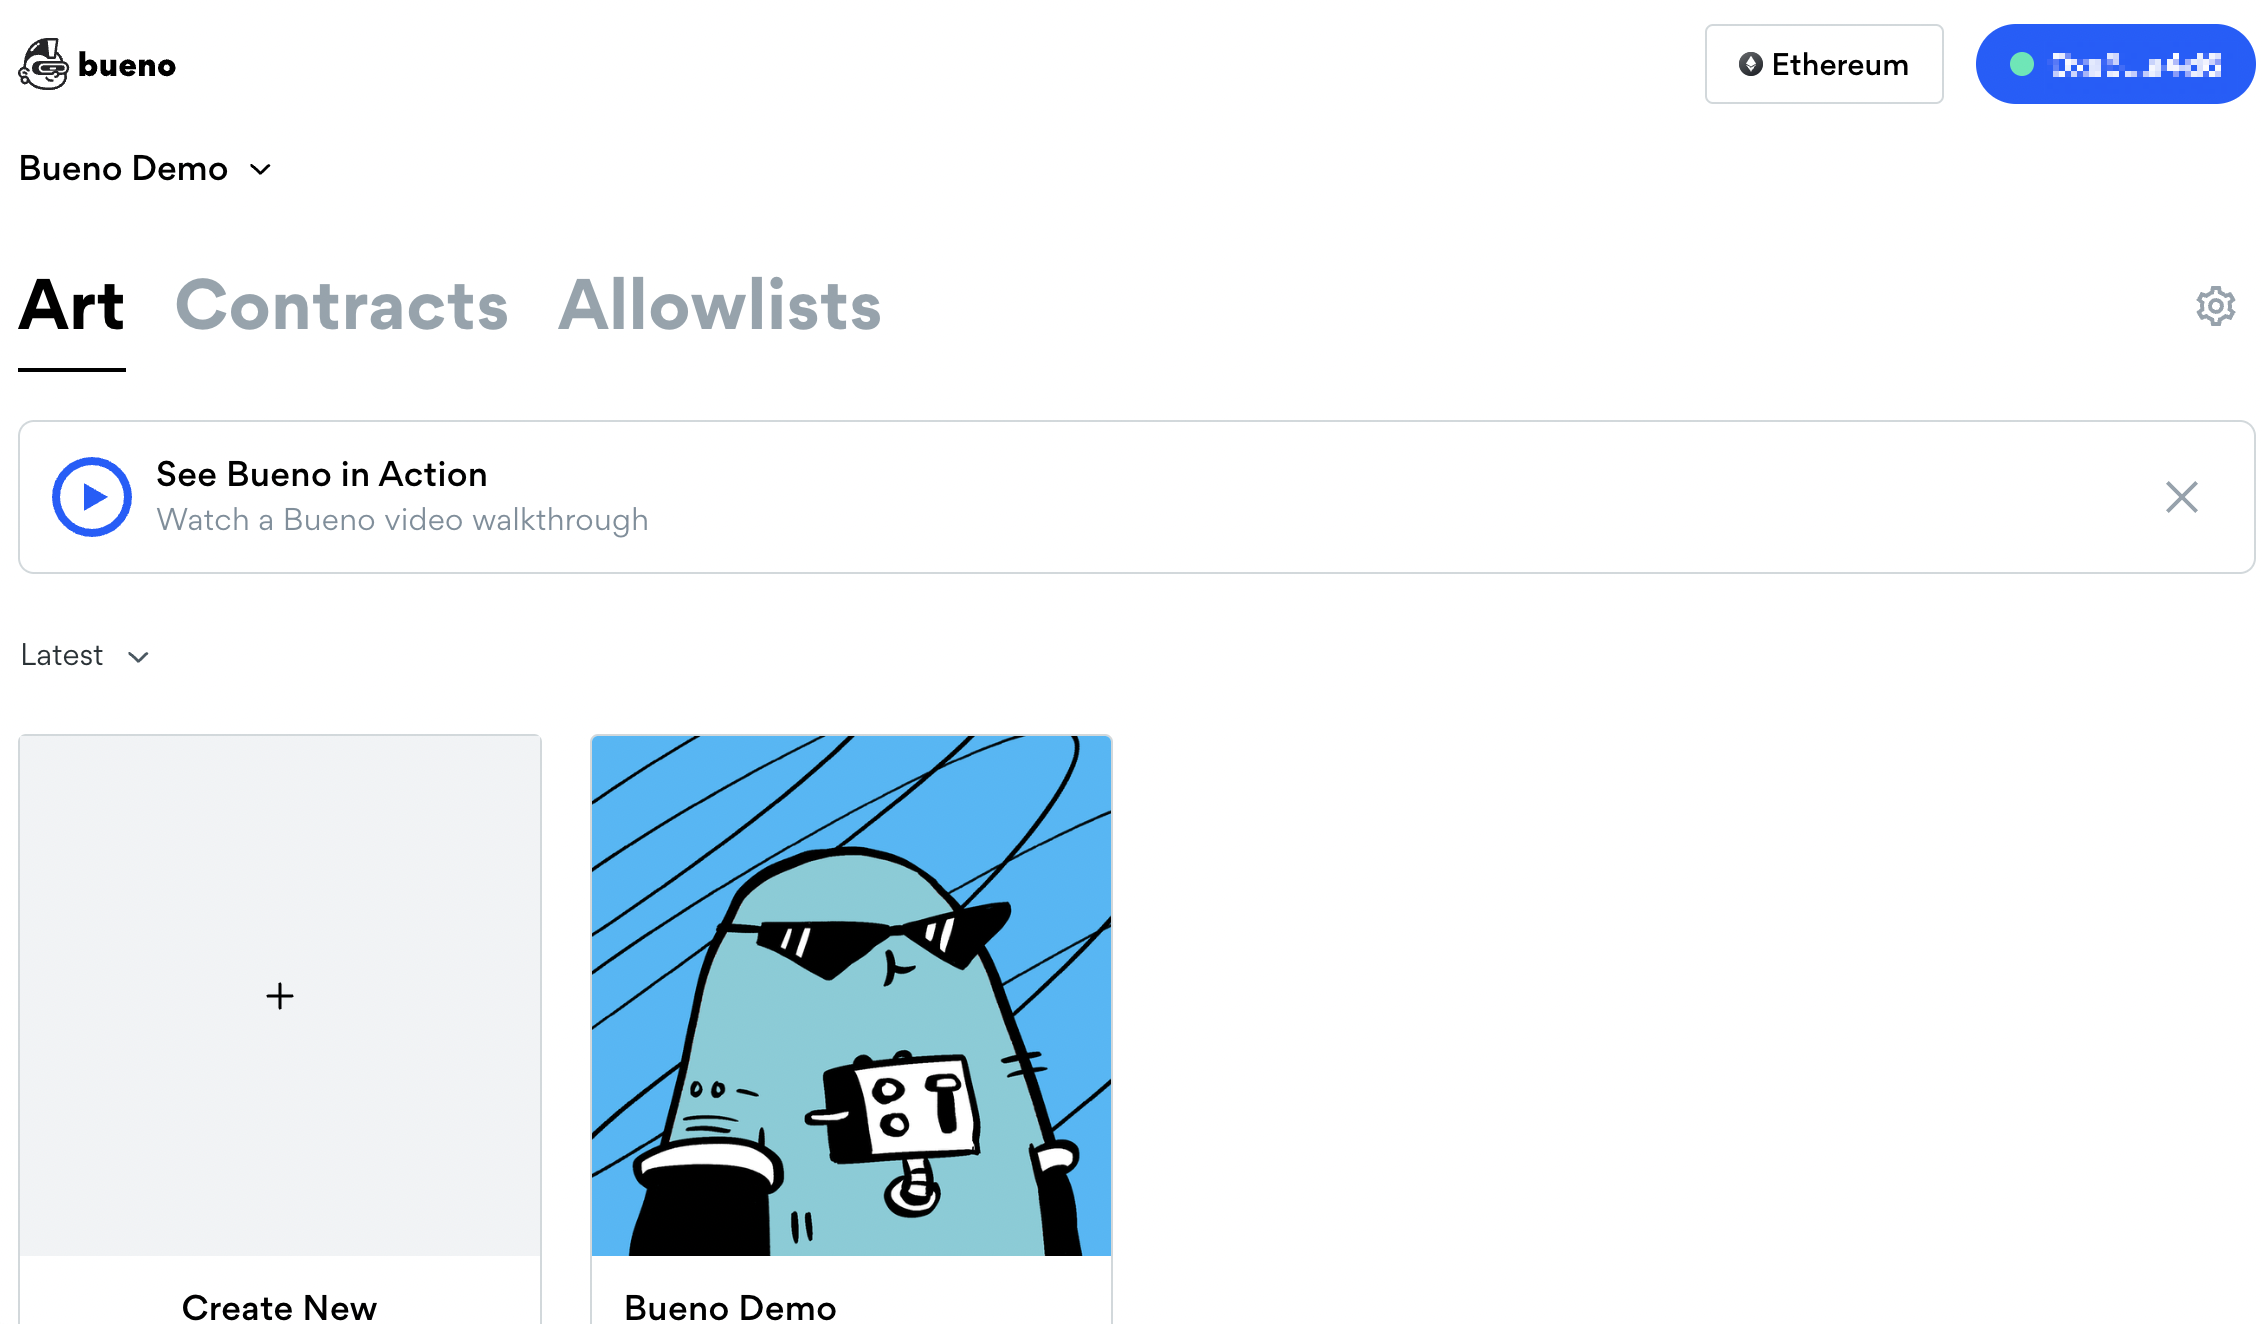
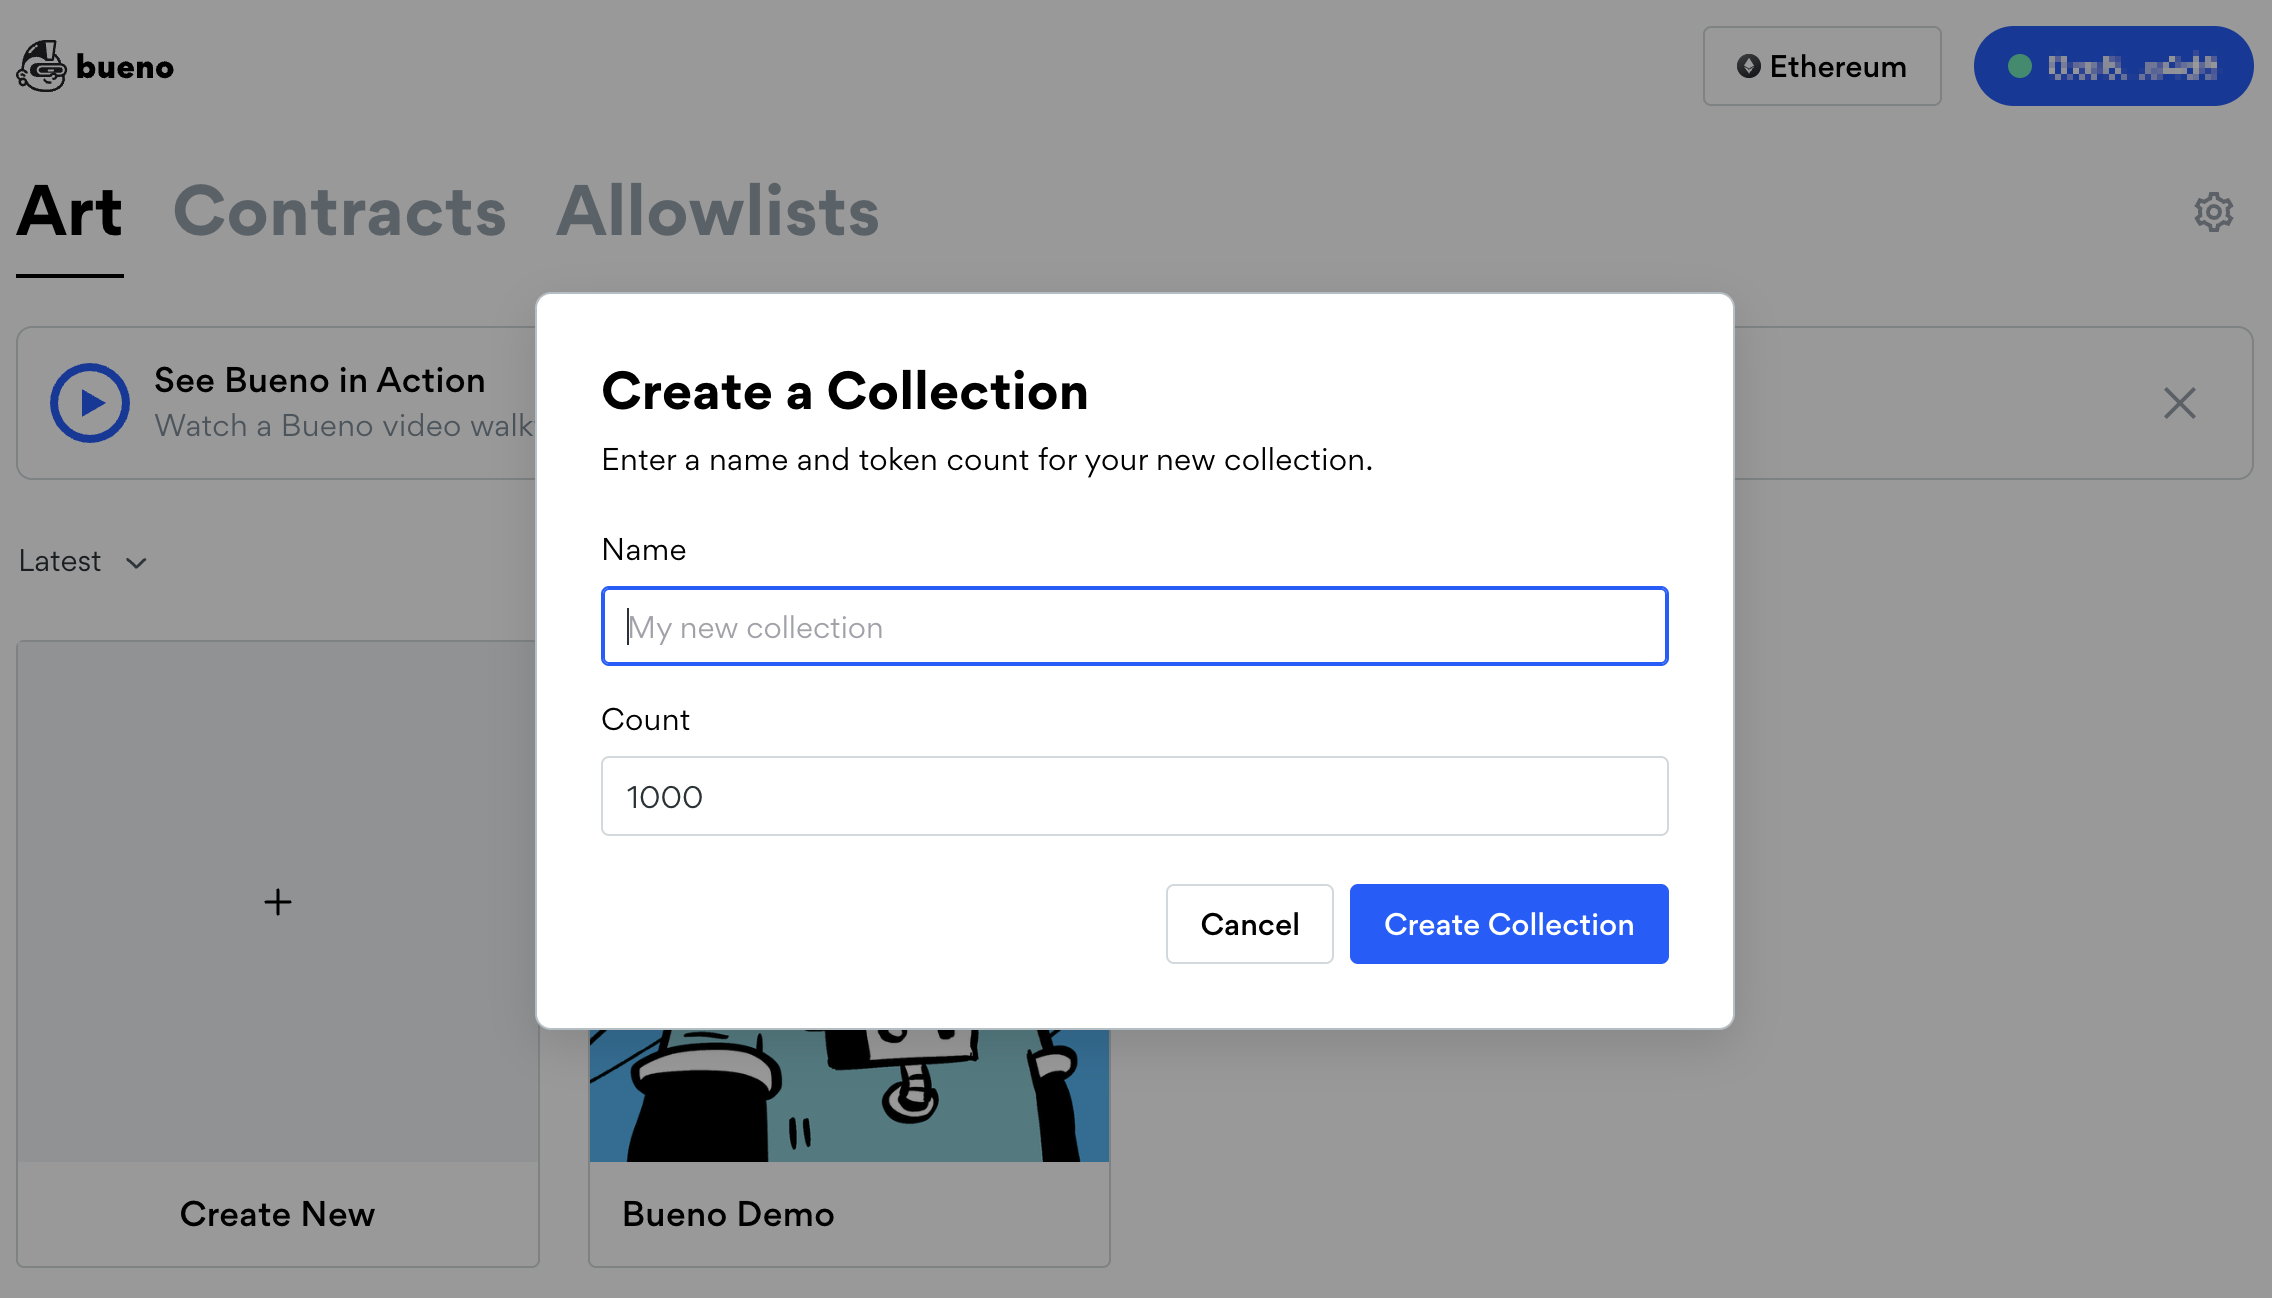
To get started, select the Create New portrait. Here, you'll be able to give your new collection a name and a token count. Then, hit Create Collection.
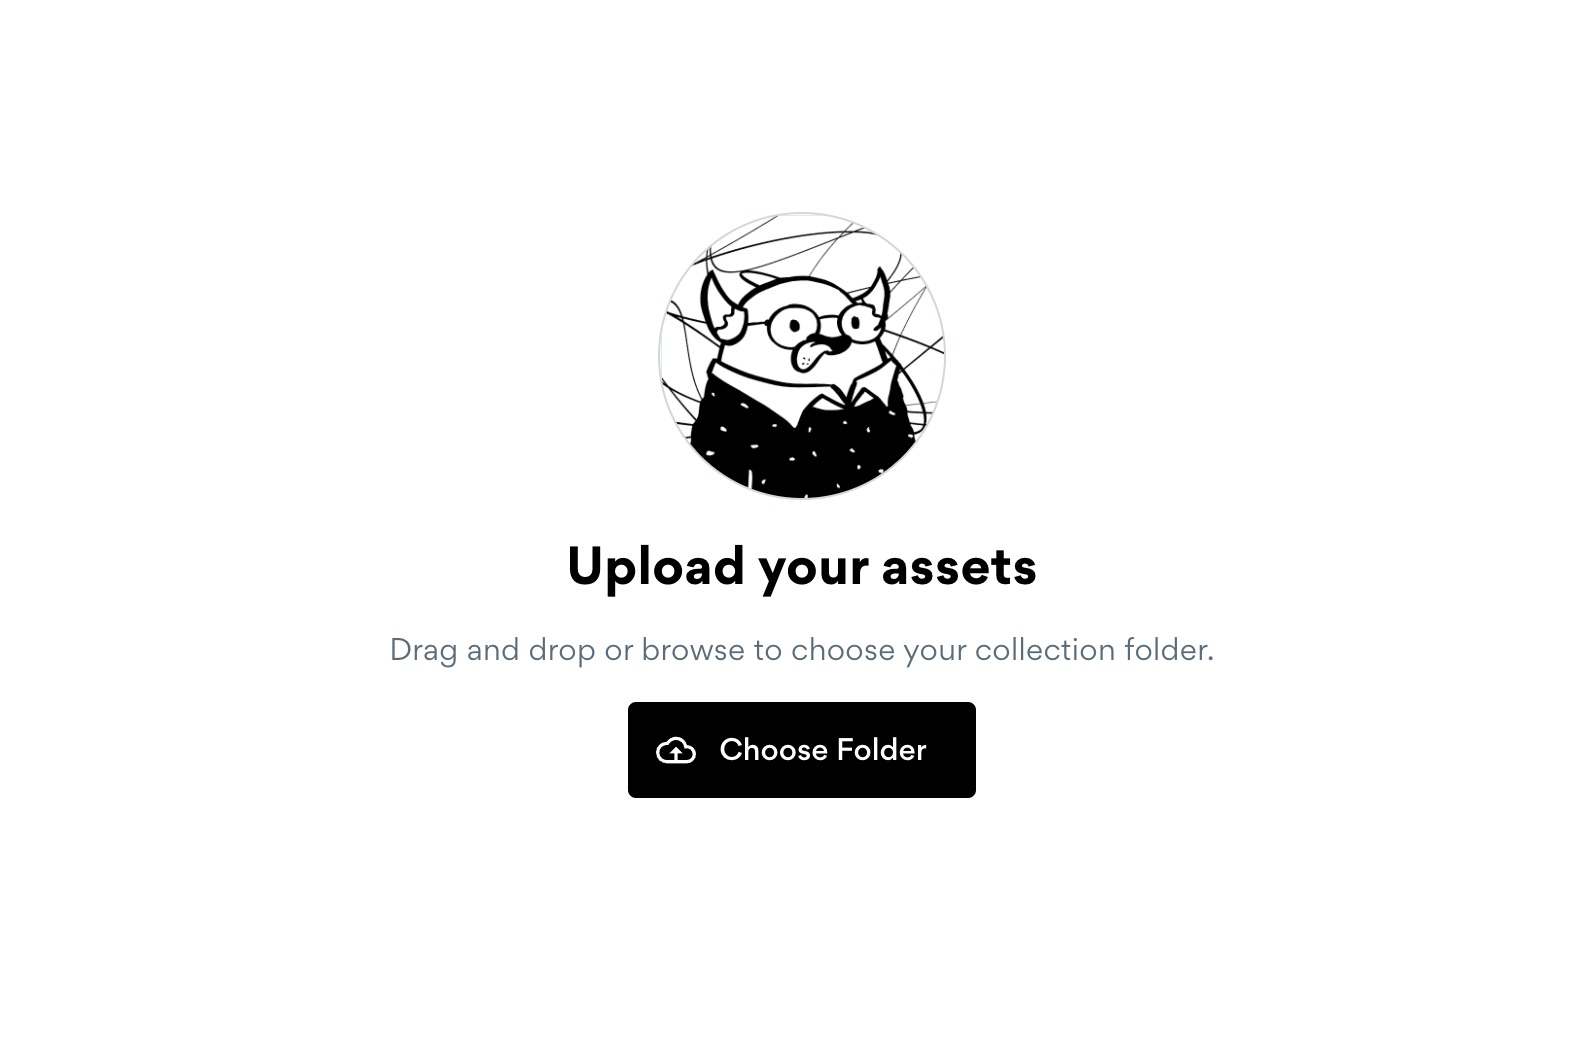
Now, you can click to select the folder to upload, or drag and drop the parent folder into the browser to upload your artwork.
It's important to select the single parent folder which holds all of your component folders during this process. Depending upon the image size and your connection speed, this can take anywhere from a few seconds to a few minutes.
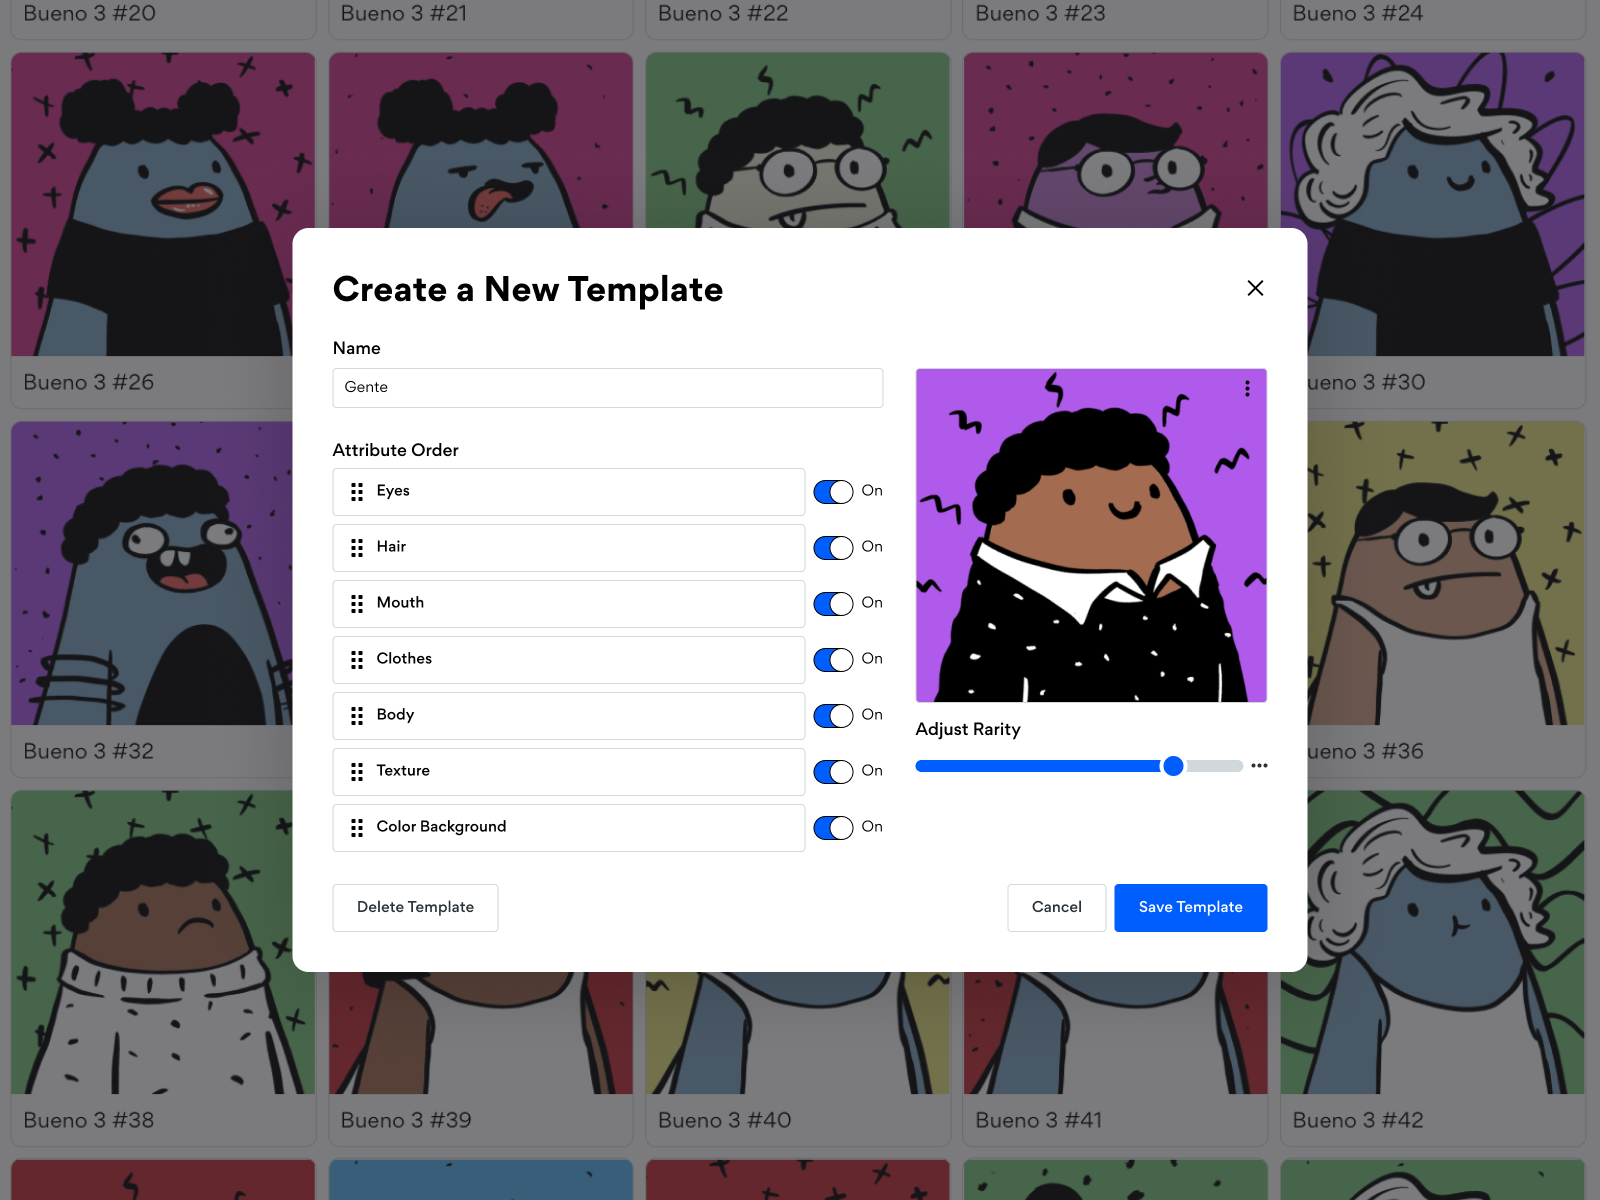
Configure your template layer order
We recommend referencing your original Photoshop/Figma file to know which order the trait layers must be ordered to layer and stack correctly. You can re-order your component layers by navigating to Manage and selecting your default Template. Then, just drag and drop the layers until they are in the correct order. Don't forget to scroll down and save your template changes!
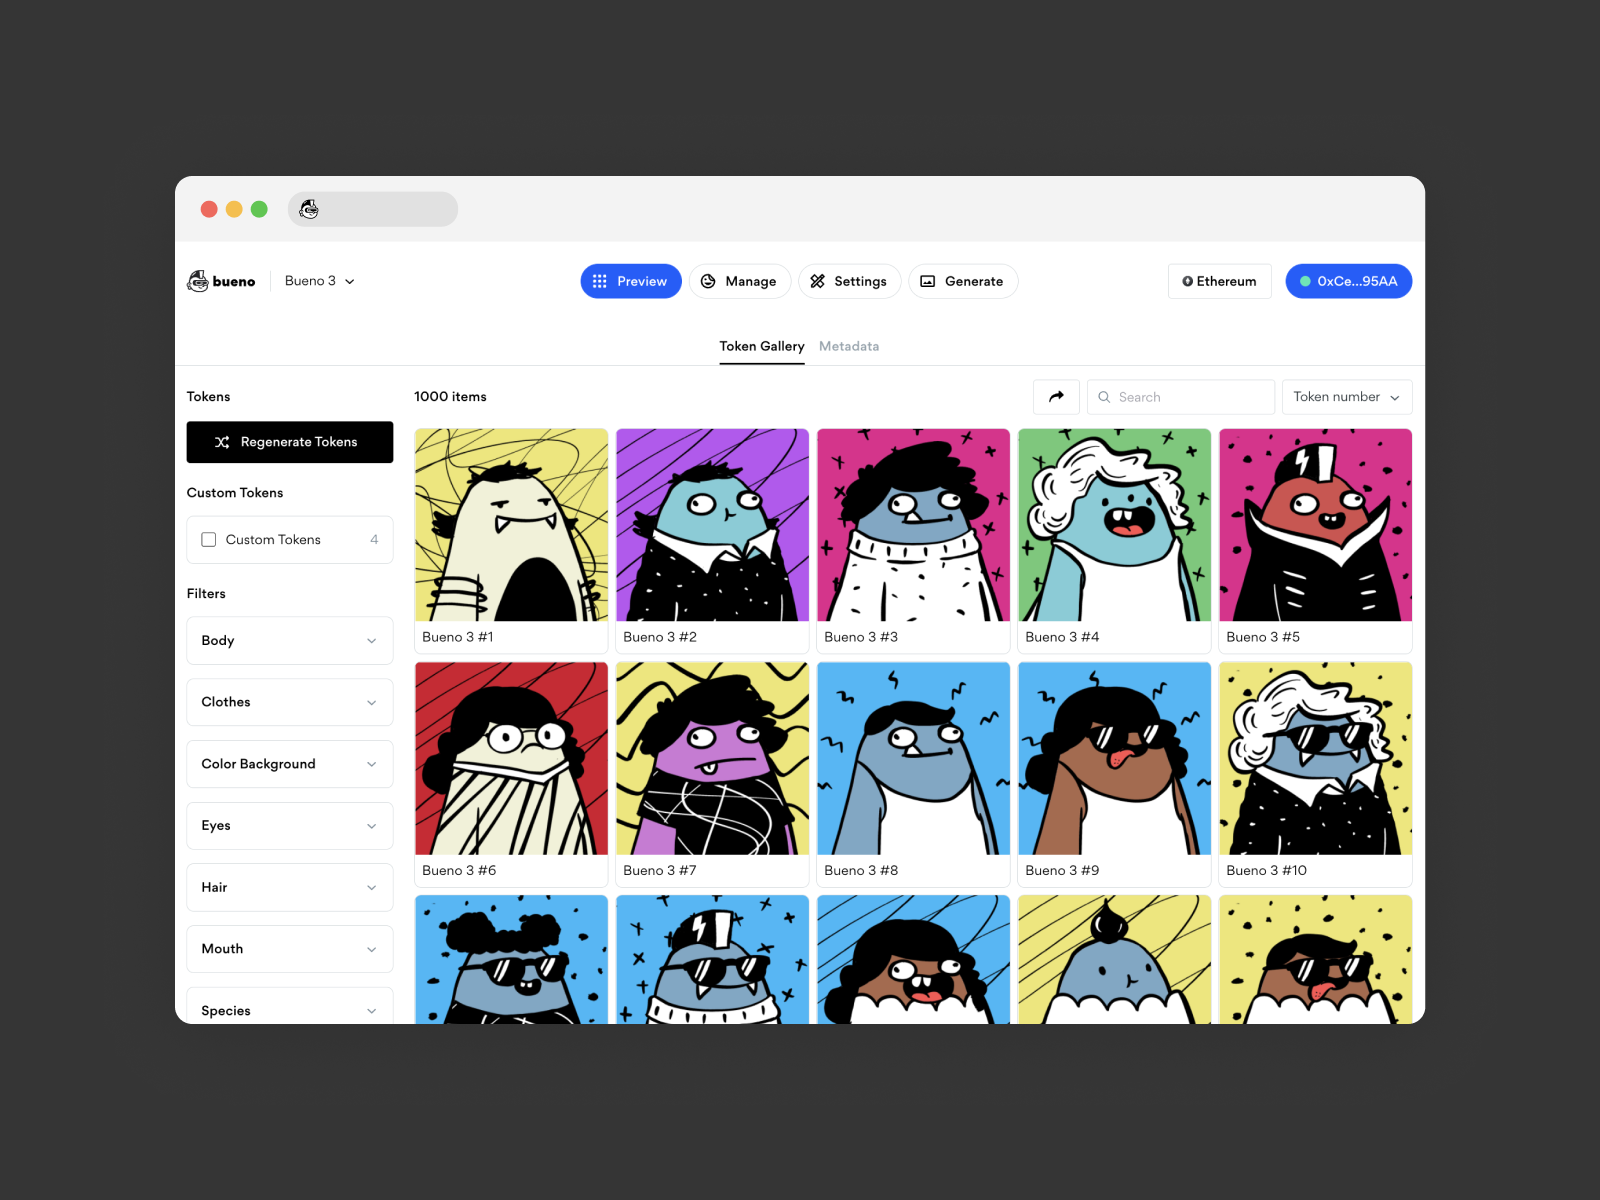
Preview your collection and continue to add rules, additional templates, and tags as needed
Go to the Preview tab, this is where you will click the Regenerate Tokens button to generate a new set of randomized tokens.

Now, you're ready to get started customizing your collection with rules and rarity, templates and tags! Keep in mind that the token set will need to be regenerated in Preview in order to apply any changes.
At any point if you find that a layer looks broken and needs to be re-uploaded, you can re-export and upload the replacement files under the Manage tab.